 misa
misaこんにちは、ウェブデザインパレットのmisaです。
Webサイトの顔とも言えるファーストビュー。
ヒーローセクションとも呼ばれます。
ユーザーの目を引くおしゃれなデザインにしたいけど、どのようなデザインにすればよいか悩んでいる方も多いのではないでしょうか?
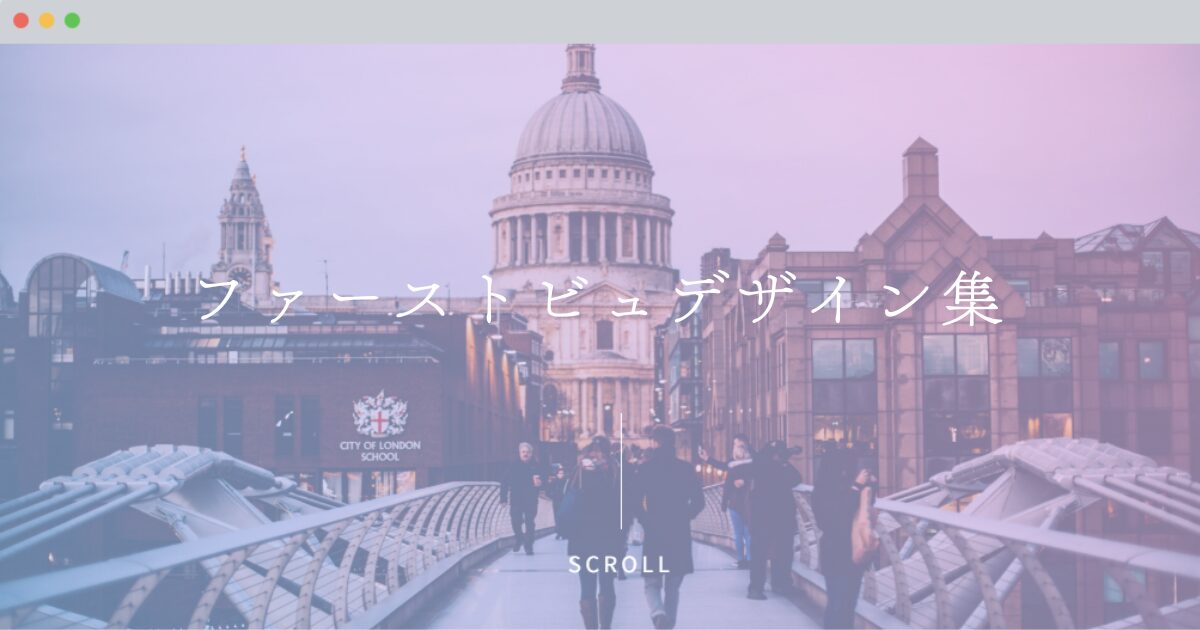
この記事では、コピペで簡単に実装できるおしゃれなファーストビューデザインのテクニックを解説します。
ロゴ表示~背景ロールアップ


DESIGN THE FUTURE
デザインで未来を創造する


右上のreloadボタン
ロゴがフェードアウトし、グラデーションの背景が下からロールアップします。
続いて、メイン画像とタイトル、スクロールバーが順にフェードインします。
ヒーローセクションに動きをつけたいときにおすすめです。
コードを表示
<div class="container">
  <div class="logo">
    <img src="/image/logo.jpg" alt="Logo">
  </div>
  <div class="gradient-bg"></div>
  <img src="/image/main.jpg" alt="Main Image" class="main-image">

  <div class="content">
    <h1 class="main-title">DESIGN THE FUTURE</h1>
    <p class="sub-title">デザインで未来を創造する</p>
  </div>

  <div class="scroll-hint">
    <div class="scroll-text">SCROLL</div>
  </div>
</div>.container {
position: relative;
width: 100%;
height: 100vh;
display: flex;
justify-content: center;
align-items: center;
color: #fff;
}
.logo {
position: absolute;
z-index: 3;
opacity: 1;
animation: fadeOutLogo 0.8s ease 1.5s forwards;
}
.logo img {
max-width: 200px;
height: auto;
}
.gradient-bg {
position: absolute;
bottom: 0;
left: 0;
width: 100%;
height: 100%;
background: linear-gradient(45deg, #a9c9ff 0%, #ffbbec 100%);
transform: translateY(100%);
z-index: 1;
animation: rollUp 1.2s ease 1.5s forwards;
}
.main-image {
position: absolute;
top: 0;
left: 0;
width: 100%;
height: 100%;
object-fit: cover;
opacity: 0;
z-index: 2;
animation: fadeInImage 1.5s ease 2.7s forwards;
}
.content {
position: relative;
z-index: 4;
opacity: 0;
padding: 0 20px;
animation: fadeInContent 1s ease 3s forwards;
text-align: center;
}
.main-title {
font-size: 3.5rem;
font-weight: 700;
margin: 0 0 1rem;
letter-spacing: 0.1em;
line-height: 1.4;
}
.sub-title {
font-size: 1.2rem;
font-weight: 300;
margin: 0 0 2rem;
letter-spacing: 0.05em;
}
.scroll-hint {
position: absolute;
bottom: 40px;
left: 50%;
transform: translateX(-50%);
z-index: 4;
opacity: 0;
animation: fadeInContent 1s ease 4s forwards;
}
.scroll-hint::before {
content: "";
display: block;
width: 1px;
height: 80px;
background: #fff;
margin: 0 auto 10px;
animation: scrollLine 1.5s ease-in-out infinite;
}
.scroll-text {
font-size: 0.9rem;
letter-spacing: 0.2em;
white-space: nowrap;
}
@keyframes fadeOutLogo {
0% {
opacity: 1;
transform: translateY(0);
}
100% {
opacity: 0;
transform: translateY(-20px);
}
}
@keyframes rollUp {
0% {
transform: translateY(100%);
}
100% {
transform: translateY(0%);
}
}
@keyframes fadeInImage {
0% {
opacity: 0;
}
100% {
opacity: 0.4;
}
}
@keyframes fadeInContent {
0% {
opacity: 0;
transform: translateY(20px);
}
100% {
opacity: 1;
transform: translateY(0);
}
}
@keyframes scrollLine {
0% {
height: 0;
opacity: 0;
}
50% {
height: 80px;
opacity: 1;
}
100% {
height: 0;
opacity: 0;
}
}
@media (max-width: 768px) {
.main-title {
font-size: 2.5rem;
}
.sub-title {
font-size: 1.4rem;
}
}


👆クリックするとコードを表示できます。コピペ&アレンジして使ってみてくださいね♩
2カラムレイアウト
画面を2分割したデザインです。
左側にはテキストコンテンツ、右側には複数の画像がスクロール表示されるエリアがあります。
ページ読み込み時に両方のカラムがスライドインし、画像が順番にフェードインして表示されます。
テキストを固定しつつ、画像をたくさん並べたいときにおすすめです。
Explore
The World
Discover amazing destinations and create unforgettable memories. Our curated collection of experiences awaits your next adventure.
コードを表示
<div class="container_02">
    <div class="split-left">
      <div class="content_02">
        <h1>Explore<br>The World</h1>
        <p>Discover amazing destinations and create unforgettable memories. Our curated collection of experiences awaits your next adventure.</p>
      </div>
    </div>
    <div class="split-right">
      <div class="image-container">
        <div class="scroll-image image-1"></div>
        <div class="scroll-image image-2"></div>
        <div class="scroll-image image-3"></div>
        <div class="scroll-image image-4"></div>
      </div>
    </div>
  </div>
</div>.container_02 {
position: relative;
height: 100vh;
display: flex;
overflow: hidden;
}
.split-left,
.split-right {
position: relative;
width: 50%;
height: 100%;
opacity: 0;
transform: translateX(-100%);
animation: slideIn 1.2s ease-out forwards;
}
.split-left {
background: #2c3e50;
display: flex;
flex-direction: column;
align-items: flex-start;
justify-content: center;
color: white;
padding: 0 5%;
}
.content_02 {
opacity: 0;
transform: translateY(30px);
animation: fadeInUp 0.8s forwards;
animation-delay: 1s;
}
.content_02 h1 {
font-size: 3.5em;
margin-bottom: 20px;
font-weight: 700;
}
.content_02 p {
font-size: 1.2em;
line-height: 1.6;
margin-bottom: 30px;
opacity: 0.8;
}
.split-right {
transform: translateX(100%);
animation-delay: 0.3s;
overflow-y: scroll;
-ms-overflow-style: none;
scrollbar-width: none;
}
.split-right::-webkit-scrollbar {
display: none;
}
.image-container {
height: 200%; /* 画像エリアを大きくしてスクロール可能に */
display: flex;
flex-direction: column;
}
.scroll-image {
width: 100%;
height: 400px;
background-size: cover;
background-position: center;
opacity: 0;
transform: translateY(30px);
animation: fadeInUp 0.8s forwards;
}
.image-1 {
background-image: url('/image-1.jpg');
animation-delay: 1.2s;
}
.image-2 {
background-image: url('/image-2.jpg');
animation-delay: 1.4s;
}
.image-3 {
background-image: url('/image-3.jpg');
animation-delay: 1.6s;
}
.image-4 {
background-image: url('/image-4.jpg');
animation-delay: 1.8s;
}
@keyframes slideIn {
to {
opacity: 1;
transform: translateX(0);
}
}
@keyframes fadeInUp {
to {
opacity: 1;
transform: translateY(0);
}
}
@keyframes fadeIn {
to {
opacity: 1;
}
}タイピングエフェクト
ヒーローセクションにタイピングアニメーションを組み込んだデザインです。
背景にはグラデーションとアニメーション効果を施しています。
ユーザーに視覚的なインパクトを与えたいときにおすすめです。
コードを表示
<div class="container_03">
  <div class="hero">
    <div class="hero-text">
      <div class="typing-container">
        <span class="typing-text">Welcome to Our Creative Studio.</span>
      </div>
    </div>
    <div class="subtitle">Where Innovation Meets Design</div>
    <div class="scroll-indicator">↓</div>
  </div>
</div>.container_03 {
margin: 0;
padding: 0;
height: 100%;
background: #0f172a;
}
.hero {
height: 100vh;
display: flex;
flex-direction: column;
justify-content: center;
align-items: center;
position: relative;
overflow: hidden;
background: linear-gradient(43deg, #4158d0 0%, #c850c0 46%, #ffcc70 100%);
}
.hero::before {
content: "";
position: absolute;
width: 200%;
height: 200%;
background: linear-gradient(
45deg,
transparent 0%,
rgba(59, 130, 246, 0.1) 50%,
transparent 100%
);
animation: gradient-shift 8s linear infinite;
}
.hero-text {
font-size: 2.5rem;
font-weight: 700;
margin: 0;
padding: 0;
color: #fff;
text-align: center;
opacity: 0;
animation: fadeIn 1s ease forwards;
}
.typing-container {
display: inline-block;
position: relative;
}
.typing-text {
display: inline-block;
border-right: 0.15em solid #fff;
white-space: nowrap;
overflow: hidden;
background: #fff;
-webkit-background-clip: text;
-webkit-text-fill-color: transparent;
animation: typing 3.5s steps(40, end), blink-caret 0.75s step-end infinite;
}
.subtitle {
text-align: center;
color: #fff;
font-size: 1.1rem;
margin-top: 40px;
opacity: 0;
transform: translateY(20px);
animation: slideUp 0.8s ease forwards 3.5s;
}
@keyframes typing {
from {
width: 0;
}
to {
width: 100%;
}
}
@keyframes blink-caret {
from,
to {
border-color: transparent;
}
50% {
border-color: #fff;
}
}
@keyframes gradient-shift {
0% {
transform: translate(-50%, -50%) rotate(0deg);
}
100% {
transform: translate(-50%, -50%) rotate(360deg);
}
}
@keyframes fadeIn {
from {
opacity: 0;
}
to {
opacity: 1;
}
}
@keyframes slideUp {
from {
opacity: 0;
transform: translateY(20px);
}
to {
opacity: 1;
transform: translateY(0);
}
}
.scroll-indicator {
position: absolute;
bottom: 2rem;
left: 50%;
transform: translateX(-50%);
color: #fff;
font-size: 1.5rem;
opacity: 0;
animation: bounce 2s infinite, fadeIn 1s ease forwards 4s;
cursor: pointer;
}
@keyframes bounce {
0%,
20%,
50%,
80%,
100% {
transform: translateX(-50%) translateY(0);
}
40% {
transform: translateX(-50%) translateY(-10px);
}
60% {
transform: translateX(-50%) translateY(-5px);
}
} // スムーズスクロール
document.querySelector('.scroll-indicator').addEventListener('click', () => {
window.scrollTo({
top: window.innerHeight,
behavior: 'smooth'
});
});
// テキストの再生アニメーション
document.querySelector('.typing-text').addEventListener('animationend', (e) => {
if (e.animationName === 'typing') {
e.target.style.width = '100%';
}
});パララックス効果
パララックス効果で、奥行き感を演出できます。
スクロール時に背景が固定されて表示され、視差効果が生まれます。
ウェブサイトの全体的なデザインが洗練されて見えます。
ユーザーの視覚的な興味を引きつけたいときにおすすめです。
コードを表示
<div class="container_04">
  <div class="parallax_boxes">
    <div class="parallax_section background_img_01">CONTENT1</div>
    <div class="parallax_section background_img_02">CONTENT2</div>
    <div class="parallax_section background_img_03">CONTENT3</div>
    <div class="parallax_section background_img_04">CONTENT4</div>
    <div class="parallax_section background_img_05">CONTENT5</div>
  </div>
</div>.container_04 {
margin: 0;
padding: 0;
width: 100%;
color: #fff;
font-size: 1.2rem;
}
.parallax_section {
display: flex;
height: 100vh;
justify-content: center;
align-items: center;
background-attachment: fixed;
background-position: center;
background-size: cover;
background-repeat: no-repeat;
}
.background_img_01 {
background-image: url('/image/01.jpg');
}
.background_img_02 {
background-image: url('/image/02.jpg');
}
.background_img_03 {
background-image: url('/image/03.jpg');
}
.background_img_04 {
background-image: url('/image/04.jpg');
}
.background_img_05 {
background-image: url('/image/05.jpg');
}



まとめ
今回は、コピペで簡単に実装できるおしゃれなファーストビューデザインのテクニックについて解説しました。
ぜひみなさんもアレンジして、より洗練されたファーストビューを作ってみてくださいね。
では、また~✨

